You’ll come across DIY homeowners and contractors fresh in the business who think they are just about the most economical planners with sources, utilities, repairs, and maintenance. Then you’ll see them blaming the product rather than their person for lack of foresight.
Enter seal coating; asphalt is a most binding partner and guard against the weathering powers that be! And then there is the list of human errors that provide depth to the age-old question: why is my seal coat rolling off like badly tempered chocolate?
Here is why:
1. An Excess of Sealer
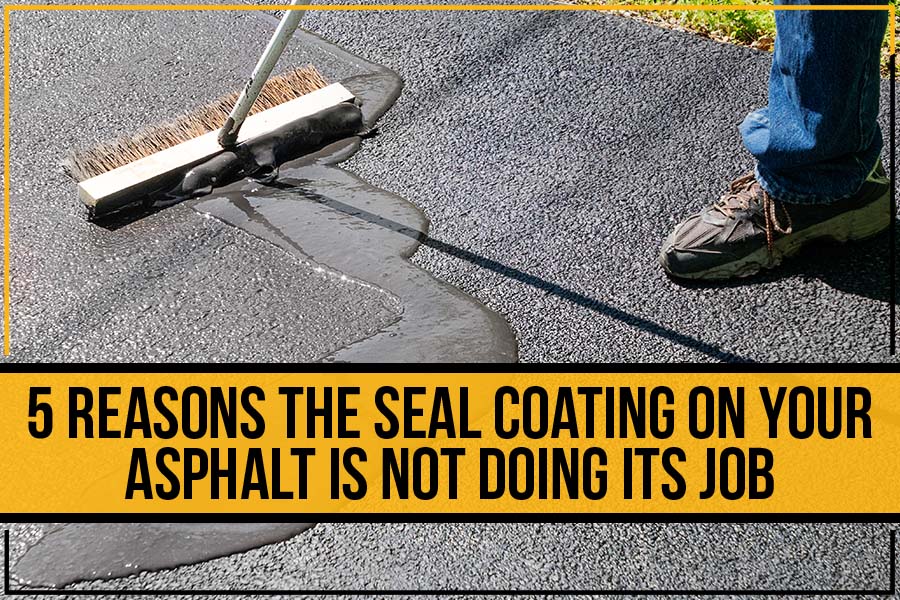
Please understand, when you slather bucket loads of ready-mix seal coat over your asphalt driveway or pavement, you are not protecting the asphalt from anything. The water content in the sealer emulsion needs a specific thickness and layering to evaporate. Too much sealer might seem like you are putting up a thicker guard on your pavement, but the rates of evaporation vary through the thick layers, resulting in premature cracking of the poor coat.
Also, wakeup call; different surfaces require specific sealers!
2. Poor Tool Improv
Understood; the squeegee is the universal tool for spreading seal coats, but you can’t possibly manage a spray-on emulsion coat on your own, can you? Asphalt emulsions are not something you mix and pour; contractors have specialized charge-inducing emulsion sprays that regulate emulsion temperatures and churn the mix to keep the emulsion’s integrity intact.
3. Dirty Asphalt Surface
Brush the surface, power wash it, soap off any oils, and sand-blot any drip stains; that is all you need to ensure your asphalt surface is clean enough to bind to the seal coat. With a dirty non-adhesive surface and dollops of seal coat, you might as well knead the coat off the pavement.
4. Drying or Curing?
Remember telling your kids not to walk over the fresh coat of varnish you just dispensed over your wood deck, fearing the dry varnish might still be susceptible to indentations and tracking? Like any protective material coat, drying is the first step, allowing a few more hours to cure. In the case of a seal coat, afford it at least 48 hours till it is cured enough to drive on.
5. The Woeful Inability to Distinguish Crack Filler from a Sealer
The best one for last; crack fillers are denser, fast-setting materials, unlike watery seal coats designed to spread in a thin layer on the asphalt surface. Some people just fill up pavement cracks and potholes during a coat, thinking they saved up on a patch job. This lazy approach will only give you smoother depressions instead of rough potholes.
If you ask us at Precision Striping & Lot Restoration, we’d suggest using a seal coat over more delicate pavement cracks and pack wider gaps with some sand before filling them with a crack sealer, then seal coat.
There is a reason asphalt professionals exist because their occupation does involve correcting DIY projects gone beyond bizarre. If you’re residing in the suburbs of Dallas–Fort Worth, TX, and it’s been around a year since your asphalt was laid or the last coat was applied, please don’t take it upon yourself to seal coat your asphalt.
You can check out our free estimates on seal coating and other services and let us maintain your asphalt instead. On a plus point, you won’t have to invest in dreary repairs on an abysmal DIY seal coat project!
DIY Is Fun, But Our Professionals Have Deal-Sealing Humor!


